


Table of contents
Zoom Setup
Zoom connects to ClientSights through OAuth. Once connected, ClientSights receives completed meeting, webinar, and phone call activity for all mapped users.
ClientSights supports multiple Zoom accounts. To connect more than one, use the Add Additional option after the first connection is complete.
Only Executives and Admins can initiate Zoom connections.
For an overview of how Zoom activity appears in ClientSights, see Zoom Overview.
Connecting Zoom
Step 1: Start the Connection
- Go to Services in the top navigation
- Find Zoom in the list
- Click Connect Zoom
Step 2: Authorize ClientSights in Zoom
You will be redirected to Zoom to approve the requested permissions. Once approved, Zoom returns you to the ClientSights integration page.
Step 3: User Mapping
ClientSights imports your Zoom users and matches them to ClientSights profiles by email. Open the Users tab to review mappings. For any user that did not map automatically, select the correct ClientSights profile from the dropdown.
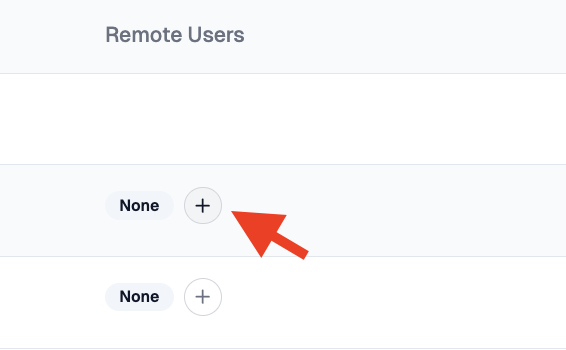
It is recommended to confirm user mappings before meetings end. Only mapped and subscribed users generate activity entries.
Step 4: Feature Subscriptions
Zoom Meetings, Zoom Webinars, and Zoom Phone are three separate feature subscriptions in ClientSights. Open the Features tab to confirm the relevant features are active for your account. A user needs the corresponding subscription enabled to generate activity for that Zoom product.
What Happens Next
Once connected and users are mapped, ClientSights begins receiving activity as meetings, webinars, and calls end. Each session generates an activity entry for every mapped and subscribed participant, whether they hosted or attended. Activity is processed in batches roughly every 20 minutes after a session ends.
No historical data is imported. Only sessions that end after the connection is established will appear. Connection settings and user mappings can be reviewed and updated at any time from the integration page.