


Table of contents
Harvest Setup
ClientSights connects to Harvest through OAuth authorization. Setup takes a few minutes and requires access to the Harvest account you want to connect.
For an overview of how Harvest activity appears in ClientSights, see Harvest Overview.
Connecting Harvest
Step 1: Start the Connection
- Go to Services in the top navigation
- Find Harvest in the list and click Connect
Step 2: Authorize ClientSights in Harvest
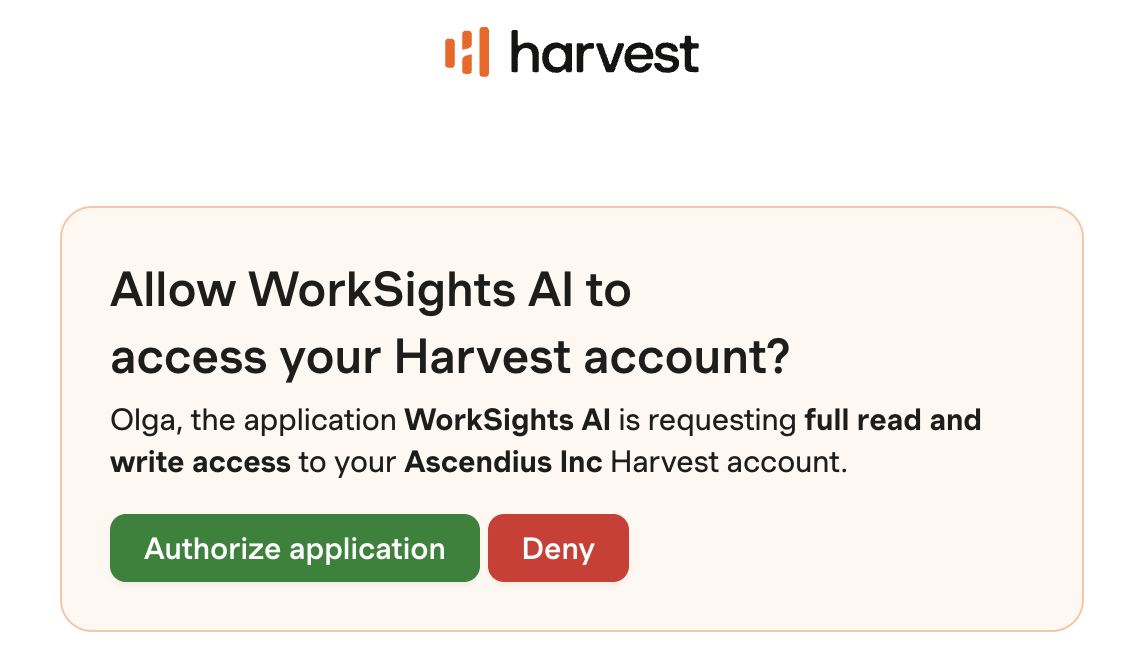
ClientSights redirects you to Harvest's authorization flow. Harvest will display an account picker if more than one account is available. Select the account you want to connect.
Approve the requested permissions to allow ClientSights to access your Harvest time entries.
Once approved, ClientSights completes the connection and you will return to ClientSights automatically.
Step 3: Review User Mapping
ClientSights imports your Harvest team members and matches them to ClientSights users by email address.
Open the Users tab to review mappings. For any user that did not map automatically, select the correct ClientSights user from the dropdown to complete the mapping.
Only mapped users will have their Harvest activity displayed in ClientSights.
What Happens Next
Once connected and users are mapped, ClientSights begins syncing Harvest time entries automatically. Activity appears on the timeline for mapped users within the hour it is logged.
If your team logs time without start and end times enabled in Harvest, times shown in ClientSights will be inferred from when entries were submitted. To get the most accurate timestamps, enable start and end time tracking in Harvest under Settings → Preferences → Track time by start and end time.
User mappings and connection settings can be reviewed and updated at any time from the integration page.