


Table of contents
Account Setup
Your ClientSights workspace begins here. This setup flow defines your company identity, core defaults, and the services ClientSights connects to. These settings ensure accurate scheduling, correct holiday logic, and smooth integrations across your organisation.
Before You Begin
Make sure you are signed in with your organisation's Google Workspace or Microsoft 365 administrator account and have the ability to manage company-wide settings and integrations.
Setup Steps
Step 1: Choose Your Account Name
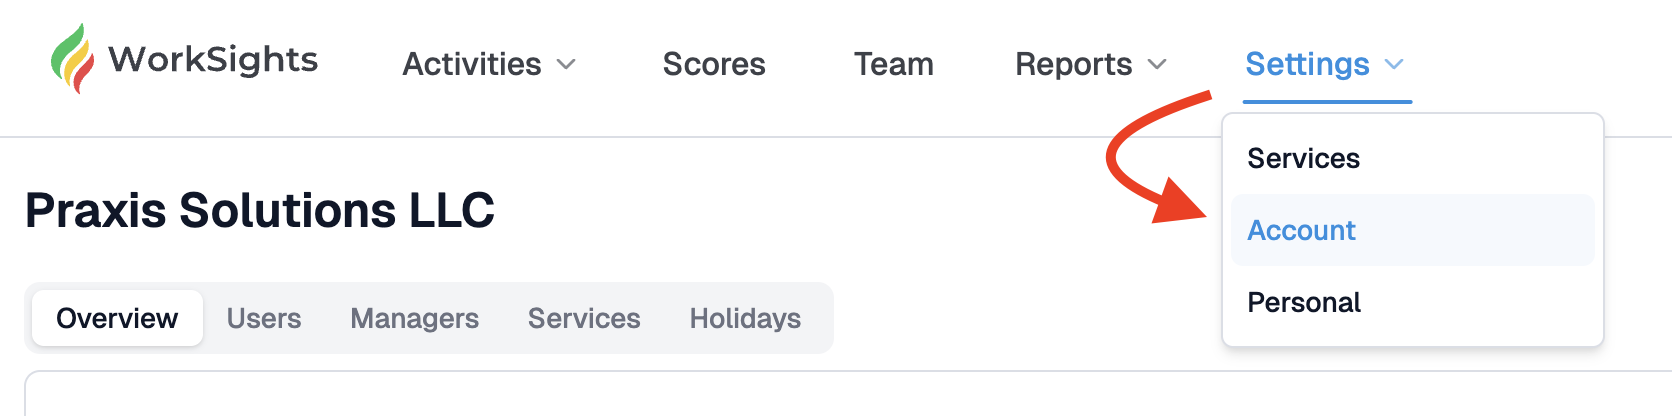
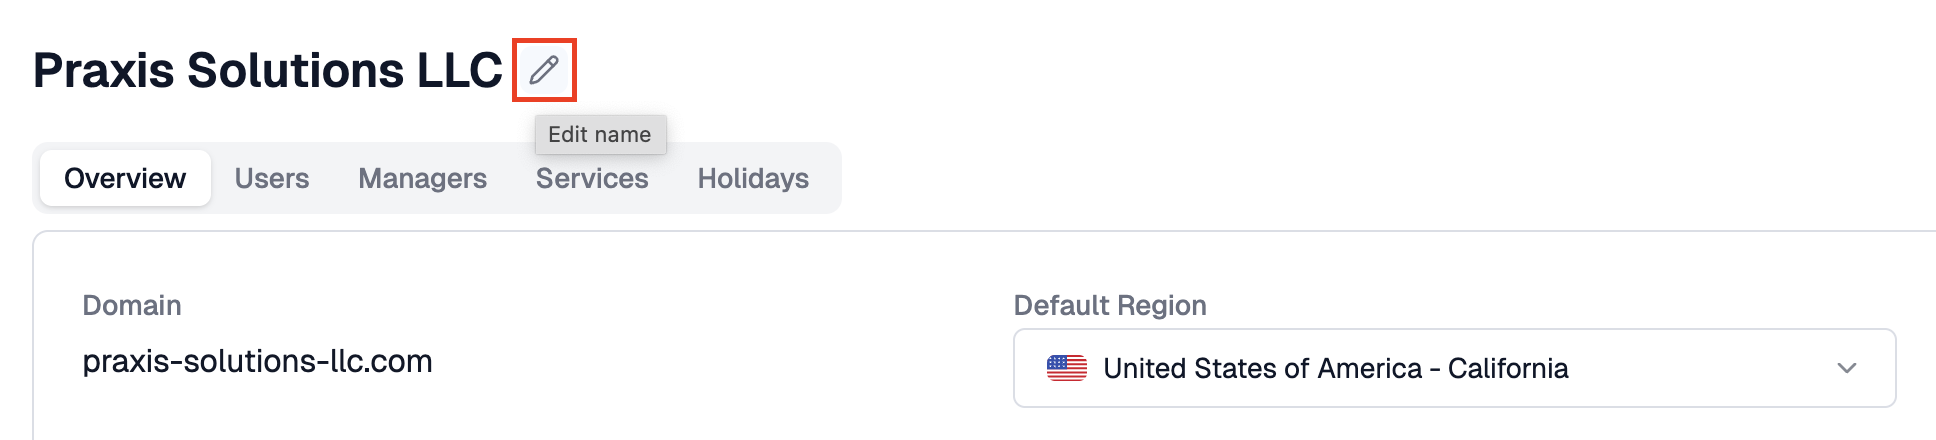
ClientSights automatically names your workspace based on your primary domain, for example acme.com. You can rename it to a company-specific or regional label for easier identification, such as Acme Europe or Acme HQ.
You can update this name at any time from Account Settings.
Step 2: Set Your Default Country and Region
Choose the country and region where most of your employees are based. ClientSights uses this to map public holidays and working days automatically. These defaults can be overridden later for individual users or teams.
Step 3: Enable Connected Services
ClientSights connects to tools your organisation already uses, including Google Workspace, Microsoft 365, Slack, Zoom, GitHub, and others. Enable any services your company plans to use.
Services that are enabled but not yet in use stay ready in the background. ClientSights processes activity only when relevant data exists.
ClientSights reads metadata only: timestamps, titles, and audit events. It does not access message content or file contents.
Step 4: Accept the Terms
Review and accept the ClientSights Terms and Conditions to continue.
What Happens Next
Once setup is complete, continue to Add and Manage Users to import your team, review provisioned identities, and assign roles.
Related Guides
Add and Manage Users - importing your team and assigning login access and roles
User Provisioning - reviewing and confirming imported identities
Connected Services - managing integrations after initial setup is complete